คู่มือการดาวน์โหลดและติดตั้ง R และ RStudio

ค้นพบวิธีที่เราสามารถดาวน์โหลดและติดตั้ง R และ RStudio ซึ่งเป็นทั้งแบบฟรีและแบบโอเพ่นซอร์สสำหรับการเขียนโปรแกรมสถิติและกราฟิก
เมื่อเขียนโปรแกรมด้วยPythonการมี cheat sheet ที่เชื่อถือได้อยู่ข้างๆ อาจเป็นตัวเปลี่ยนเกมได้ Python อาจเป็นที่รู้จักในเรื่องความเรียบง่ายและอ่านง่าย แต่ก็ไม่ปฏิเสธว่าคุณสมบัติและฟังก์ชันการทำงานที่หลากหลายนั้นมากเกินกว่าจะจดจำได้!
สูตรโกง Python ใช้เป็นข้อมูลอ้างอิงที่มีประโยชน์สำหรับผู้เริ่มต้นและนักพัฒนาที่มีประสบการณ์ โดยจะให้คำแนะนำอ้างอิงพื้นฐานสำหรับคำสั่งต่างๆ ไวยากรณ์ โครงสร้างข้อมูล และอื่นๆ
คู่มือนี้เป็นเอกสารข้อมูลสรุปของ Python ที่สามารถช่วยคุณนำทางผ่านฟังก์ชันไลบรารี คลาส และไวยากรณ์ต่างๆ ที่อาจล้นหลาม โดยเฉพาะอย่างยิ่งสำหรับผู้เริ่มต้น

คุณเป็นโรงเรียนเก่าหรือไม่ ต้องการดาวน์โหลดและพิมพ์ โปรดดู PDF ด้านล่างเพื่อช่วยคุณในเส้นทางการเรียนรู้ Python!
Python-Cheat-Sheet-1 ดาวน์โหลด
สารบัญ
การอ้างอิงอย่างรวดเร็วสำหรับพื้นฐานไวยากรณ์ของ Python
ในการเริ่มสูตรโกง Python ของเรา เราจะสำรวจข้อมูลพื้นฐานเกี่ยวกับไวยากรณ์ของ Python การมีความเข้าใจพื้นฐานของ Python เป็นอย่างดีจะช่วยให้คุณมีพื้นฐานที่มั่นคงสำหรับการเขียนโค้ดที่ซับซ้อนมากขึ้น
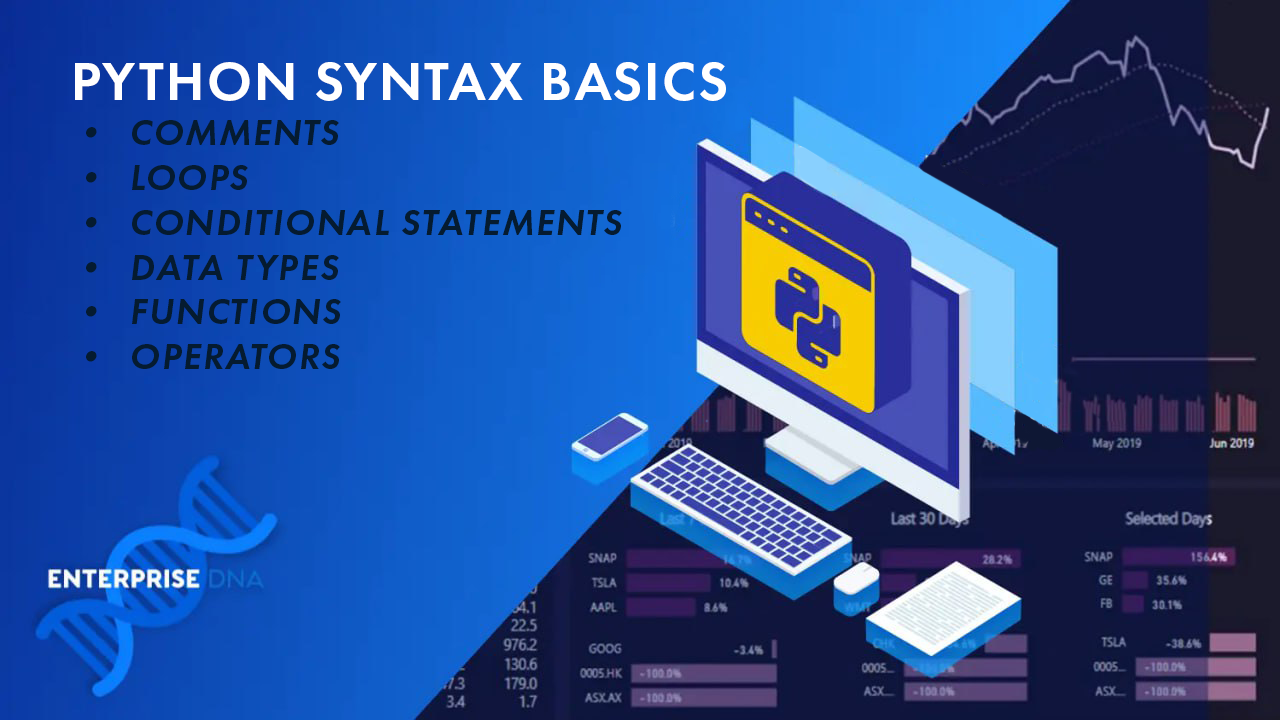
สำหรับ การ อ้างอิงนี้ เราได้รวม: ความคิดเห็นตัวแปรชนิดข้อมูลข้อความแสดงเงื่อนไขลูปและฟังก์ชัน
1. ความคิดเห็น
ข้อคิดเห็นเป็นส่วนสำคัญของโค้ด เนื่องจากช่วยให้คุณอธิบายกระบวนการคิดและทำให้โค้ดอ่านง่ายขึ้น ใน Python คุณสามารถสร้างความคิดเห็นแบบบรรทัดเดียวโดยใช้สัญลักษณ์แฮช (#)
# This is a single-line comment.
สำหรับการแสดงความคิดเห็นแบบหลายบรรทัด คุณสามารถใช้เครื่องหมายอัญประกาศสามตัว (แบบเดี่ยวหรือแบบคู่)
""" This is a
multi-line
comment. """
2. ตัวแปร
ตัวแปรใน Python ใช้ในการเก็บข้อมูล คุณสามารถกำหนดค่าให้กับตัวแปรโดยใช้เครื่องหมายเท่ากับ (=)
x = 5
name = "John"
ชื่อตัวแปรควรสื่อความหมายและเป็นไปตามหลักการตั้งชื่อของการใช้อักษรตัวพิมพ์เล็กและขีดล่างสำหรับช่องว่าง
user_age = 25
favorite_color = "blue"
3. ประเภทข้อมูล
ภาษา Python มาพร้อมกับประเภทข้อมูลหลายประเภทในตัวตามค่าเริ่มต้น บางส่วนที่พบบ่อย ได้แก่ :
ประเภทข้อความ : str
ประเภทบูลีน : บูล
ประเภทตัวเลข : int, float, complex
ประเภทลำดับ : รายการ, ทูเพิล, ช่วง
ไม่มีประเภท:ไม่มีประเภท
หากต้องการทราบประเภทข้อมูลของออบเจกต์ Python คุณสามารถใช้ฟังก์ชันtype() ตัวอย่างเช่น:
name = 'jane'
print(type(name))

#Output: 'str'
4. ข้อความเงื่อนไข
ข้อความสั่งแบบมีเงื่อนไขใน Python อนุญาตให้คุณรันโค้ดได้ก็ต่อเมื่อตรงตามเงื่อนไขที่กำหนดเท่านั้น ข้อความแสดงเงื่อนไขทั่วไปคือ ' if ', 'elif ' และ ' else '
if condition:
    # Code to execute if the condition is true
elif another_condition:
    # Code to execute if the another_condition is true
else:
    # Code to execute if none of the conditions are true
5. ลูป
การวนซ้ำใช้เพื่อรันบล็อกโค้ดซ้ำๆ Python มีการวนซ้ำสองประเภท: การวนซ้ำแบบ ' for ' และการวนซ้ำแบบ ' while '
ลองดูทั้งสองอย่าง:
สำหรับลูป:
for variable in iterable:
    # Code to execute for each element in the iterable
ในขณะที่วนซ้ำ:
while condition:
    # Code to execute while the condition is true
ภายในลูปเหล่านี้ คุณสามารถใช้คำสั่งเงื่อนไขและคำสั่งควบคุมเพื่อควบคุมการไหลของโปรแกรมของคุณ
6. ฟังก์ชั่น
ฟังก์ชันใน Python เป็นบล็อกของโค้ดที่ทำงานเฉพาะอย่าง คุณสามารถกำหนดฟังก์ชันโดยใช้คีย์เวิร์ด ' def ' ตามด้วยชื่อฟังก์ชันและวงเล็บที่มีพารามิเตอร์อินพุตใดๆ
def function_name(parameters):
    # Code to execute
    return result
ในการเรียกใช้ฟังก์ชัน ให้ใช้ชื่อฟังก์ชันตามด้วยวงเล็บที่มีอาร์กิวเมนต์ที่จำเป็น
function_name(arguments)
ตอนนี้เราได้กล่าวถึงพื้นฐานของ Python แล้ว เรามาต่อกันที่หัวข้อขั้นสูงเพิ่มเติมในส่วนถัดไป
การอ้างอิงด่วนสำหรับโครงสร้างข้อมูล Python
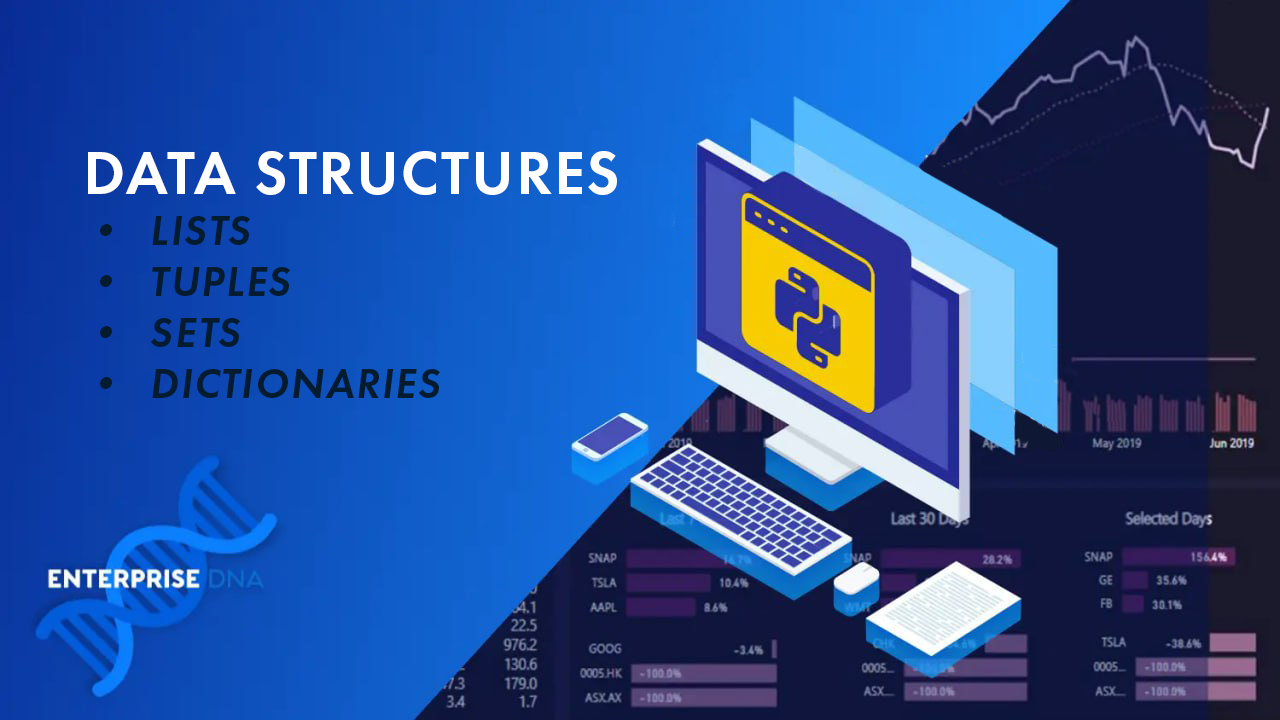
ต่อไปใน Python cheatsheet เราจะพูดถึงโครงสร้างข้อมูลที่ใช้บ่อยที่สุดใน Python โครงสร้างข้อมูลเหล่านี้มีความสำคัญในการจัดการและจัดระเบียบข้อมูลในโครงการเขียนโปรแกรมของคุณ
มีโครงสร้างข้อมูลมากมายใน Python ที่นักพัฒนาขั้นสูงสามารถใช้ได้ อย่างไรก็ตาม เราจะมุ่งเน้นไปที่Lists , Tuples , SetsและDictionaries
1. รายการ
รายการใน Pythonเป็นลำดับขององค์ประกอบที่ไม่แน่นอนและเรียงลำดับ หากต้องการสร้างรายการ ให้ใช้วงเล็บเหลี่ยมและคั่นรายการด้วยเครื่องหมายจุลภาค
รายการ Python สามารถเก็บประเภทข้อมูลได้หลากหลาย เช่น สตริง จำนวนเต็ม บูลีน ฯลฯ ต่อไปนี้เป็นตัวอย่าง ของการดำเนินการที่คุณสามารถทำได้กับ รายการPython :
สร้างรายการ:
my_list = [1, 2, 3]องค์ประกอบการเข้าถึง:
my_list[0]เพิ่มองค์ประกอบ:
my_list.append(4)2. สิ่งอันดับ
ทูเพิลคล้ายกับรายการ แต่เปลี่ยนรูปไม่ได้ ซึ่งหมายความว่าคุณไม่สามารถเปลี่ยนองค์ประกอบของมันได้เมื่อสร้างขึ้น คุณสามารถสร้างทูเพิลโดยใช้วงเล็บและคั่นองค์ประกอบด้วยเครื่องหมายจุลภาค
นี่คือตัวอย่างบางส่วนของการดำเนินการ tuple:
สร้างทูเพิล:
my_tuple = (1, 2, 3)องค์ประกอบการเข้าถึง:
my_tuple[0] #Output: 13. ชุด
เซตคือชุดขององค์ประกอบที่ไม่ซ้ำแบบไม่มีลำดับ คุณสามารถสร้างชุดโดยใช้ฟังก์ชัน set() หรือวงเล็บปีกกา
นอกจากนี้ยังสามารถเก็บประเภทข้อมูลได้หลากหลาย ตราบใดที่ไม่ซ้ำกัน นี่คือตัวอย่างบางส่วนของการดำเนินการชุด:
สร้างชุด:
my_set = {1, 2, 3}เพิ่มองค์ประกอบ:
my_set.add(4)ลบองค์ประกอบ:
my_set.remove(1)4. พจนานุกรม
พจนานุกรมคือชุดของคู่คีย์-ค่าที่ไม่มีลำดับ โดยที่คีย์จะไม่ซ้ำกัน คุณสามารถสร้างพจนานุกรมโดยใช้วงเล็บปีกกาและแยกคีย์และค่าด้วยทวิภาค ต่อไปนี้คือตัวอย่างการทำงานของพจนานุกรม:
สร้างพจนานุกรม:
my_dict = {'key1': 'value1', 'key2': 'value2'}องค์ประกอบการเข้าถึง:
my_dict['key1'] #Output:'value1'เพิ่มคู่คีย์-ค่า:
my_dict['key3'] = 'value3'ลบคู่คีย์-ค่า:
del my_dict['key1']อย่าลืมฝึกฝนและสำรวจโครงสร้างข้อมูลเหล่านี้ในโครงการ Python ของคุณเพื่อให้มีความชำนาญในการใช้งานมากขึ้น! ต่อไป เราจะให้ข้อมูลอ้างอิงสำหรับงาน I/O ไฟล์
Quick Reference for Python File I/O
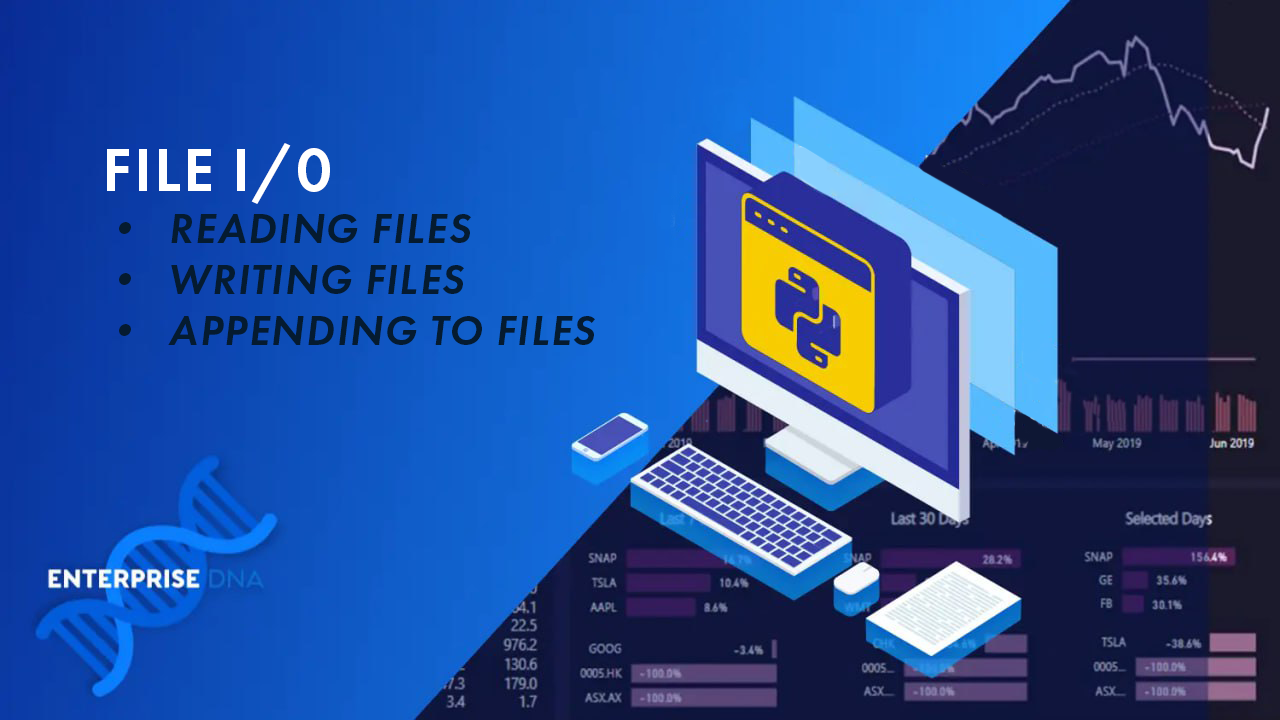
In this section of the Python cheat sheet, we’ll focus on some common tasks related to working with files in Python, such as reading, writing, and appending data.
1. Reading Files
To read a file, you first need to open it using the built-in open() function, with the mode parameter set to ‘r‘ for reading:
file_obj = open('file_path', 'r')
Now that your file is open, you can use different methods to read its content:
read(): Reads the entire content of the file.
readline(): Reads a single line from the file.
readlines(): Returns a list of all lines in the file.
It’s important to remember to close the file once you’ve finished working with it:
file_obj.close()
Alternatively, you can use the with statement, which automatically closes the file after the block of code completes:
with open('file_path', 'r') as file_obj:
    content = file_obj.read()
2. Writing Files
To create a new file or overwrite an existing one, open the file with mode ‘w‘:
file_obj = open('file_path', 'w')
Write data to the file using the write() method:
file_obj.write('This is a line of text.')
Don’t forget to close the file:
file_obj.close()
Again, consider using the with statement for a more concise and safer way to handle files:
with open('file_path', 'w') as file_obj:
    file_obj.write('This is a line of text.')
3. Appending to Files
To add content to an existing file without overwriting it, open the file with mode ‘a‘:
file_obj = open('file_path', 'a')
Use the write() method to append data to the file:
file_obj.write('This is an extra line of text.')
And, as always, close the file when you’re done:
file_obj.close()
For a more efficient and cleaner approach, use the with statement:
with open('file_path', 'a') as file_obj:
    file_obj.write('This is an extra line of text.')
By following these steps and examples, you can efficiently navigate file operations in your Python applications. Remember to always close your files after working with them to avoid potential issues and resource leaks!
In the next section, we provide a reference for error handling in Python.
Quick Reference for Error Handling in Python

In this section, you’ll learn about error handling in Python, which plays a crucial role in preventing the abrupt termination of your programs when it encounters an error.
We’ll cover the following sub-sections: Try and Except, Finally, and Raising Exceptions.
1. Try and Except
To handle exceptions in your code, you can use the try and except blocks. The try block contains the code that might raise an error, whereas the except block helps you handle that exception, ensuring your program continues running smoothly.
Here’s an example:
try:
    quotient = 5 / 0

except ZeroDivisionError as e:
    print("Oops! You're trying to divide by zero.")
In this case, the code inside the try block will raise a ZeroDivisionError exception. Since we have an except block to handle this specific exception, it will catch the error and print the message to alert you about the issue.
2. Finally
The finally block is used when you want to ensure that a specific block of code is executed, no matter the outcome of the try and except blocks. This is especially useful for releasing resources or closing files or connections, even if an exception occurs, ensuring a clean exit.
Here’s an example:
try:
    # Your code here
except MyException as e:
    # Exception handling
finally:
    print("This will run no matter the outcome of the try and except blocks.")
3. Raising Exceptions
You can also raise custom exceptions in your code to trigger error handling when specific conditions are met. To do this, you can use the raise statement followed by the exception you want to raise (either built-in or custom exception).
For instance:
def validate_age(age):
    if age < 0:
        raise ValueError("Age cannot be a negative value.")

try:
    validate_age(-3)
except ValueError as ve:
    print(ve)
In this example, we’ve defined a custom function to validate an age value. If the provided age is less than zero, we raise a ValueError with a custom message. When calling this function, you should wrap it in a try-except block to handle the exception properly.
Next, we’re going to provide a quick reference for popular Python modules and packages. Let’s go!
Quick Reference for Python Modules and Packages

This section of our cheat sheet is for Python packages and modules, which are essential for structuring and organizing your code cleanly and efficiently.
You’ll learn about importing modules and creating packages.
1. Importing Modules
Modules in Python are files containing reusable code, such as functions, classes, or variables. Python offers several modules and packages for different tasks like data science, machine learning, robotics, etc.
To use a module’s contents in your code, you need to import it first. Here are a few different ways to import a module:
import : This imports the entire module, and you can access its contents using the syntax ‘module_name.content_name.’
For example:
import random

c = random.ranint()
from import : This imports a specific content (function or variable) from the module, and you can use it directly without referencing the module name.
from math import sin

c = sin(1.57)
from import *: This imports all contents of the module. Be careful with this method as it can lead to conflicts if different modules have contents with the same name.
Some commonly used built-in Python modules include:
math: Provides mathematical functions and constants
random: Generates random numbers and provides related functions
datetime: Handles date and time operations
os: Interacts with the operating system and manages files and directories
2. Creating Packages
Packages in Python are collections of related modules. They help you organize your code into logical and functional units. To create a package:
Create a new directory with the desired package name.
Add an empty file named init.py to the directory. This file indicates to Python that the directory should be treated as a package.
Add your module files (with the .py extension) to the directory.
Now, you can import the package or its modules into your Python scripts. To import a module from a package, use the syntax:
import Structure your code with modules and packages to make it more organized and maintainable. This will also make it easier for you and others to navigate and comprehend your codebase.
In the next section, we provide a reference for object-oriented programming concepts in Python.
Quick Reference for Object-Oriented Programming in Python

Object-Oriented Programming (OOP) is a programming paradigm based on the concept of “objects“, which can contain data and code.
The data is in the form of fields, often known as attributes or properties, and the code is in the form of procedures, often known as methods.
In this section of the cheat sheet, we’ll delve into the fundamental concepts of OOP in Python, including classes, inheritance, and encapsulation.
1. Classes
A class is a blueprint for creating objects. It defines the data (attributes) and functionality (methods) of the objects. To begin creating your own class, use the “class” keyword followed by the class name:
class ClassName:
    # Class attributes and methods
To add attributes and methods, simply define them within the class block. For example:
class Dog:
    def __init__(self, name, breed):
        self.name = name
        self.breed = breed

    def bark(self):
        print("Woof!")
ในตัวอย่างนี้ วัตถุสุนัขใหม่สามารถสร้างได้ด้วยชื่อและสายพันธุ์ และมีวิธีการเห่าที่พิมพ์ว่า “ โฮ่ง! ” เมื่อถูกเรียก
2. มรดก
การสืบทอดทำให้คลาสหนึ่งสามารถสืบทอดแอตทริบิวต์และเมธอดจากคลาสอื่น ทำให้สามารถใช้รหัสซ้ำได้และโมดูลาร์ คลาสที่สืบทอดเรียกว่าคลาสย่อยหรือคลาสที่ได้รับมา ในขณะที่คลาสที่สืบทอดมาเรียกว่าคลาสพื้นฐานหรือซูเปอร์คลาส
หากต้องการใช้การสืบทอด ให้เพิ่มชื่อของ superclass ในวงเล็บหลังชื่อคลาสย่อย:
class SubclassName(SuperclassName):
    # Subclass attributes and methods
ตัวอย่างเช่น คุณสามารถสร้างคลาสย่อย “พุดเดิ้ล” จากคลาส “สุนัข”:
class Poodle(Dog):
    def show_trick(self):
        print("The poodle does a trick.")
อ็อบเจกต์พุดเดิ้ลจะมีแอตทริบิวต์และเมธอดทั้งหมดของคลาส Dog รวมถึงเมธอด show_trick ของตัวเองด้วย
3. การห่อหุ้ม
การห่อหุ้มเป็นวิธีปฏิบัติในการห่อข้อมูลและวิธีการที่ดำเนินการกับข้อมูลนั้นภายในหน่วยเดียว ในกรณีนี้คือวัตถุ สิ่งนี้ส่งเสริมการแยกที่ชัดเจนระหว่างการใช้งานภายในของออบเจ็กต์และอินเทอร์เฟซภายนอก
Python ใช้ชื่อ mangling เพื่อให้ได้การห่อหุ้มสำหรับสมาชิกคลาสโดยการเพิ่มเครื่องหมายขีดล่างคู่หน้าให้กับชื่อแอตทริบิวต์ ทำให้ดูเหมือนเป็นส่วนตัว
class Example:
    def __init__(self):
        self.__private_attribute = "I'm private!"

    def __private_method(self):
        print("You can't see me!")
แม้ว่าคุณจะยังคงสามารถเข้าถึงสมาชิกส่วนตัวเหล่านี้ได้ในทางเทคนิคใน Python แต่การกระทำดังกล่าวเป็นสิ่งที่ไม่ควรทำอย่างยิ่ง เนื่องจากเป็นการละเมิดหลักการห่อหุ้ม
การทำความเข้าใจและใช้งานคลาส การสืบทอด และการห่อหุ้มในโปรแกรม Python ของคุณ คุณสามารถใช้พลังและความยืดหยุ่นของ OOP เพื่อสร้างโค้ดที่สะอาด เป็นโมดูล และใช้ซ้ำได้
สำหรับส่วนสุดท้ายของ cheatsheet เราจะให้ข้อมูลอ้างอิงอย่างรวดเร็วสำหรับไลบรารี Python ยอดนิยมสี่รายการ
4 ห้องสมุด Python ที่เป็นประโยชน์

ไลบรารี Python จำนวนมากสามารถช่วยให้คุณทำงานต่างๆ ให้สำเร็จ หรือได้รับเครื่องมือสำหรับหัวข้อต่างๆ เช่น คณิตศาสตร์ วิทยาศาสตร์ข้อมูล การสแครปเว็บ เป็นต้น
ในส่วน นี้เราจะพูดถึงไลบรารีต่อไปนี้สั้นๆ: NumPy , Pandas , RequestsและBeautiful Soup
1. นัมปี
NumPyเป็นไลบรารี Python ยอดนิยมสำหรับการคำนวณทางคณิตศาสตร์และวิทยาศาสตร์ ด้วยออบเจกต์อาร์เรย์ N มิติอันทรงพลัง คุณสามารถจัดการการดำเนินการทางคณิตศาสตร์ได้หลากหลาย เช่น:
ฟังก์ชันพื้นฐานทางคณิตศาสตร์
พีชคณิตเชิงเส้น
การวิเคราะห์ฟูเรียร์
การสร้างตัวเลขสุ่ม
การจัดการ อาร์เรย์ที่มีประสิทธิภาพของ NumPyทำให้เหมาะอย่างยิ่งสำหรับโครงการที่ต้องการการคำนวณเชิงตัวเลข
2. แพนด้า
Pandasเป็นไลบรารีการวิเคราะห์และจัดการข้อมูลที่มีประสิทธิภาพ ซึ่งคุณสามารถใช้เพื่อทำงานกับข้อมูลที่มีโครงสร้างได้ นอกจากนี้ยังได้รับความนิยมอย่างมากในชุมชนวิทยาศาสตร์ข้อมูลเนื่องจากมีเครื่องมือมากมายสำหรับจัดการข้อมูล
คุณสมบัติบางอย่างรวมถึง:
โครงสร้างข้อมูล เช่น Series (1D) และ DataFrame (2D)
การทำความสะอาดและเตรียมข้อมูล
การวิเคราะห์ทางสถิติ
ฟังก์ชันอนุกรมเวลา
ด้วยการใช้ Pandas คุณสามารถนำเข้า วิเคราะห์ และจัดการข้อมูลในรูปแบบต่างๆ ได้อย่างง่ายดาย เช่น ฐานข้อมูล CSV, Excel และ SQL
หากคุณสนใจ Pandas คุณสามารถดูวิดีโอของเราเกี่ยวกับวิธีการสุ่มตัวอย่างข้อมูลอนุกรมเวลาใหม่โดยใช้ Pandas เพื่อปรับปรุงการวิเคราะห์:
3. คำขอ
ไลบรารีคำขอทำให้กระบวนการจัดการคำขอ HTTP ใน Python ง่ายขึ้น ด้วยไลบรารีนี้ คุณสามารถส่งและรับคำขอ HTTP เช่น GET, POST และ DELETE ได้อย่างง่ายดาย
คุณสมบัติหลักบางประการ ได้แก่ :
จัดการการเปลี่ยนเส้นทางและติดตามลิงก์บนหน้าเว็บ
การเพิ่มส่วนหัว ข้อมูลฟอร์ม และพารามิเตอร์การสืบค้นผ่านไลบรารี Python อย่างง่าย
การจัดการคุกกี้และเซสชัน
เมื่อใช้คำขอ คุณสามารถโต้ตอบกับบริการบนเว็บและ API ต่างๆ ได้อย่างรวดเร็วและมีประสิทธิภาพ
4. ซุปที่สวยงาม
Beautiful Soupเป็นไลบรารี Python สำหรับการขูดเว็บ ซึ่งช่วยให้คุณดึงข้อมูลจากเอกสาร HTML และ XML คุณสมบัติหลักบางประการ ได้แก่ :
ค้นหาแท็กหรือคลาส CSS เฉพาะ
การนำทางและแก้ไขต้นไม้ที่แยกวิเคราะห์
แยกข้อมูลที่เกี่ยวข้องตามแอตทริบิวต์ของแท็ก
เมื่อใช้ Beautiful Soup ร่วมกับคำขอ คุณสามารถสร้างแอปพลิเคชันการขูดเว็บที่มีประสิทธิภาพซึ่งรวบรวมข้อมูลจากเว็บไซต์ต่างๆ มากมาย
ความคิดสุดท้าย

และนั่นนำเราไปสู่จุดสิ้นสุดของการเดินทางอย่างรวดเร็วใน Python Lane ข้อมูลสรุปนี้เป็นคู่มือฉบับพกพา เพื่อนสนิทที่ไว้ใจได้เมื่อคุณต้องการเตือนอย่างรวดเร็วเกี่ยวกับฟังก์ชันและคำสั่งยอดนิยมของ Python
รายการของเราไม่ครบถ้วนสมบูรณ์ แต่เป็นการเริ่มต้นที่มั่นคง ซึ่งเป็นรากฐานที่คุณสามารถสร้างได้ เอาเลย บุ๊กมาร์ก พิมพ์ ติดบนผนังของคุณ แค่ให้แน่ใจว่ามันอยู่ใกล้มือเมื่อคุณเขียนโค้ด มีความสุขในการเขียนโปรแกรม!
ค้นพบวิธีที่เราสามารถดาวน์โหลดและติดตั้ง R และ RStudio ซึ่งเป็นทั้งแบบฟรีและแบบโอเพ่นซอร์สสำหรับการเขียนโปรแกรมสถิติและกราฟิก
วิธีลดขนาดไฟล์ Excel – 6 วิธีที่มีประสิทธิภาพ
Power Automate คืออะไร? - สุดยอดคู่มือที่ช่วยให้คุณเข้าใจและใช้ได้อย่างมีประสิทธิภาพ
วิธีใช้ Power Query ใน Excel: คำแนะนำทั้งหมดเพื่อทำให้ข้อมูลของคุณมีประสิทธิภาพมากขึ้น
ตนเองคืออะไรใน Python: ตัวอย่างในโลกแห่งความเป็นจริง
คุณจะได้เรียนรู้วิธีการบันทึกและโหลดวัตถุจากไฟล์ .rds ใน R บล็อกนี้จะครอบคลุมถึงวิธีการนำเข้าวัตถุจาก R ไปยัง LuckyTemplates
ในบทช่วยสอนภาษาการเข้ารหัส DAX นี้ เรียนรู้วิธีใช้ฟังก์ชัน GENERATE และวิธีเปลี่ยนชื่อหน่วยวัดแบบไดนามิก
บทช่วยสอนนี้จะครอบคลุมถึงวิธีการใช้เทคนิค Multi Threaded Dynamic Visuals เพื่อสร้างข้อมูลเชิงลึกจากการแสดงข้อมูลแบบไดนามิกในรายงานของคุณ
ในบทความนี้ ฉันจะเรียกใช้ผ่านบริบทตัวกรอง บริบทตัวกรองเป็นหนึ่งในหัวข้อหลักที่ผู้ใช้ LuckyTemplates ควรเรียนรู้ในขั้นต้น
ฉันต้องการแสดงให้เห็นว่าบริการออนไลน์ของ LuckyTemplates Apps สามารถช่วยในการจัดการรายงานและข้อมูลเชิงลึกต่างๆ ที่สร้างจากแหล่งข้อมูลต่างๆ ได้อย่างไร


